
Motorcycle safety relies on mirrors for riders to keep tabs on what's going on around them. Yet, not every mirror cuts it the same way. Riders have long been bickering over which is better: bar end mirrors or the stock mirrors. They argue about which (Bar End Mirrors vs Stock Mirrors) gives a better view, […]
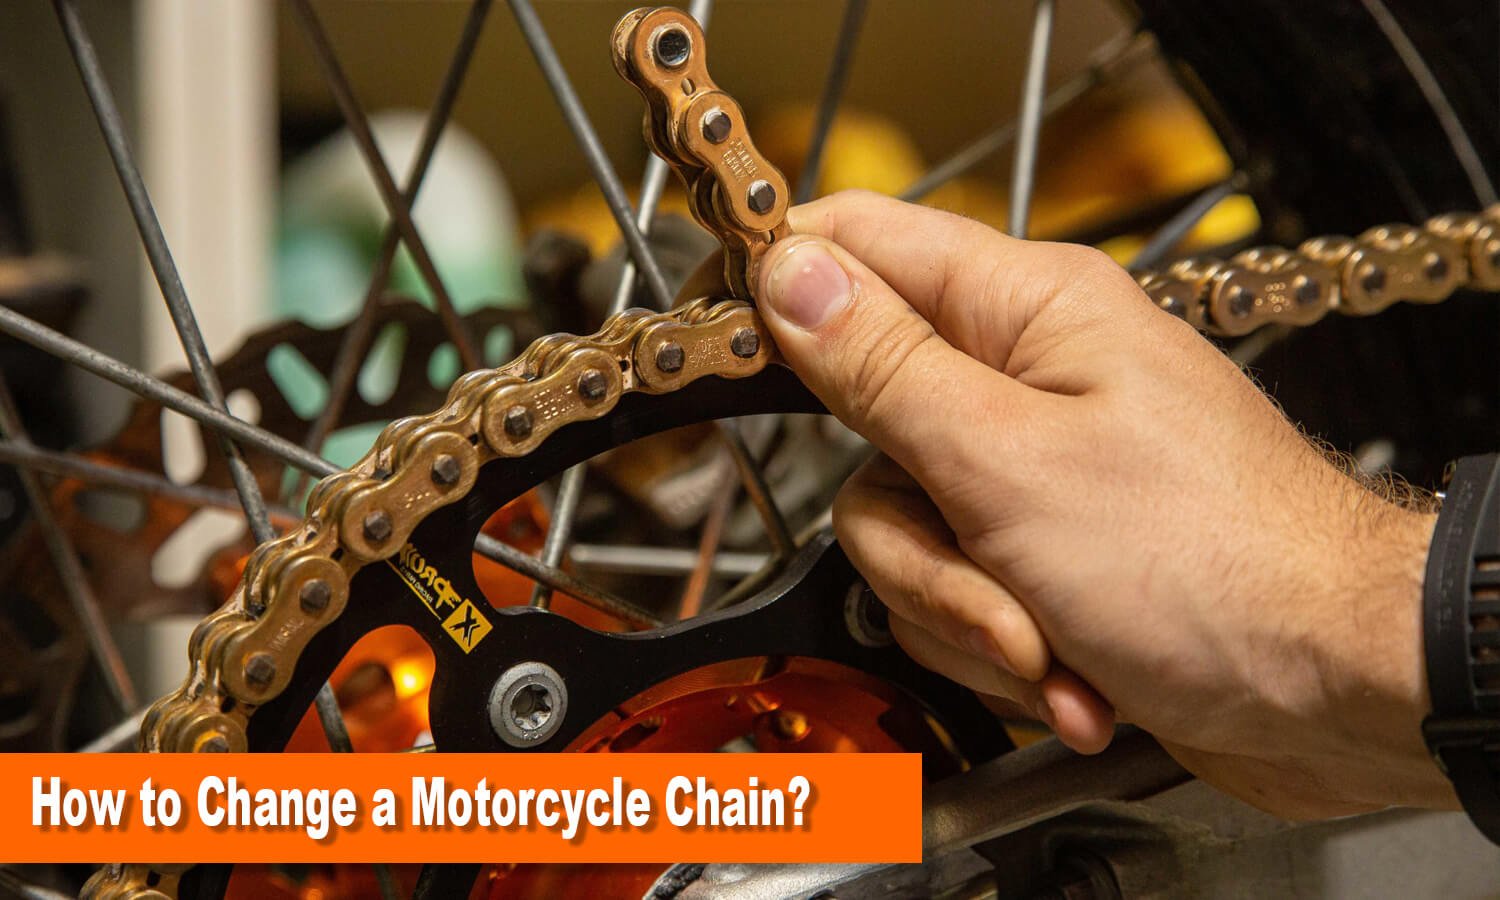
How to Change a Motorcycle Chain? 8 Essential Steps
It is a top-maintenance job to change a motorcycle chain that every motorcycle lover ought to master. A solid well-cared-for chain delivers smooth power, boosts performance, and ups your safety game. Chains get beat up from all the riding, weather, and sometimes not enough grease. Hooking up a fresh one before the old chain calls it quits can dodge some nasty wipeouts and big repair bills.
This blog will walk you through the process of replacing a motorcycle chain step by step—and you'll get a host of pro tips to get it done like a pro.
Table of Contents
Why You Should Change Your Motorcycle Chain?
Your motorcycle's chain is super important for your bike’s drivetrain. It hooks up the engine's front sprocket to the back one sending the oomph to the back wheel. If your chain's kinda old and tired, it could mess things up like:
- Slipping: If the chain's not tight, it might miss some teeth on the sprockets. This means your bike won't speed up and might feel a bit jumpy.
- Worn Down Sprockets: Chains that are past their best can wreck the sprockets faster, and that's gonna cost more to fix.
- Safety Issues: Imagine your chain breaking while you're zooming along. That can wreck your ride or worse, cause a crash.
Swap out your chain when it's due, and you're gonna get a smoother journey more consistent power, and your bike will just run better overall.
Tools and Materials You’ll Need to Change A Motorcycle Chain
Before you start, gather the necessary tools and materials. Having everything ready will save you time and frustration.
- New Chain: Make sure it’s the correct size and type for your motorcycle (refer to the owner’s manual).
- Chain Breaker Tool: To remove the old chain.
- Rivet Tool or Master Link Kit: For installing the new chain.
- Socket Wrench Set: To loosen or tighten bolts.
- Torque Wrench: For proper tightening of bolts and nuts.
- Rear Stand or Center Stand: To lift the rear wheel off the ground.
- Gloves and Eye Protection: For safety during the process.
- Chain Lubricant: To lubricate the new chain.
- Degreaser: To clean the sprockets.
- Rag or Brush: For cleaning the chain and sprockets.
Step-by-Step Guide to Chang a Motorcycle Chain
Follow these detailed steps to change your motorcycle chain efficiently:
Step 1 Inspect the Old Chain and Sprockets
inspect the old chain and sprockets
Before removing anything, closely inspect your motorcycle chain and sprockets to determine their condition. Look for the following signs of wear:
- Chain Issues: Check for excessive slack, stiff or frozen links, rust, or visible damage. A chain that sags too much or skips teeth needs replacement.
- Sprocket Wear: Inspect the sprockets for sharp, hooked, or uneven teeth. Worn sprockets can cause a new chain to wear out prematurely.
Note: When the chain or sprockets show a lot of wear, you should replace both. Many people make the mistake of putting a new chain on old sprockets. This cuts down on how long the chain lasts.
Step 2 Secure the Motorcycle on a Stand
put the motorcycle on a stand
Stability is essential when working on your motorcycle.
- Place the bike on a rear stand or center stand to lift the rear wheel off the ground. This will make it easier to rotate the wheel while working on the chain and sprockets.
- Ensure the motorcycle is balanced and secure to prevent accidents while you work.
- Test the stability by gently shaking the bike before starting.
Step 3 Remove the Old Chain
Removing the old chain is a crucial step, and it needs to be done correctly. Here’s how:
- Locate the Master Link: Many chains include a master link, which is a removable link that allows you to disconnect the chain easily. It usually looks slightly different from the other links.
- Detach the Master Link: Use pliers or a master link tool to remove the clip and separate the link. If your chain has a riveted link, you’ll need a chain breaker tool to push out a rivet pin and split the chain.
- Remove the Chain: Once the chain is disconnected, carefully pull it off the sprockets. Set it aside for disposal.
Pro Tip: Should you decide to keep the old chain in place before putting on the new one, connect the fresh chain to the existing one. Spin the back wheel so the new chain moves through the sprockets helping it settle into the right spot.
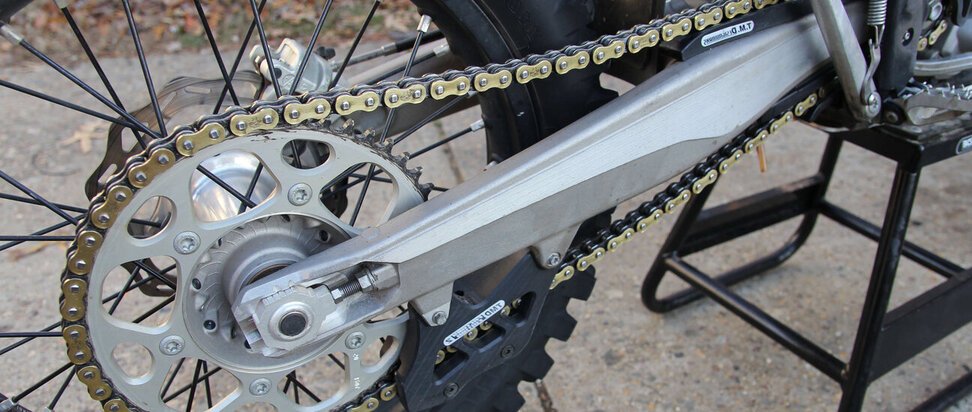
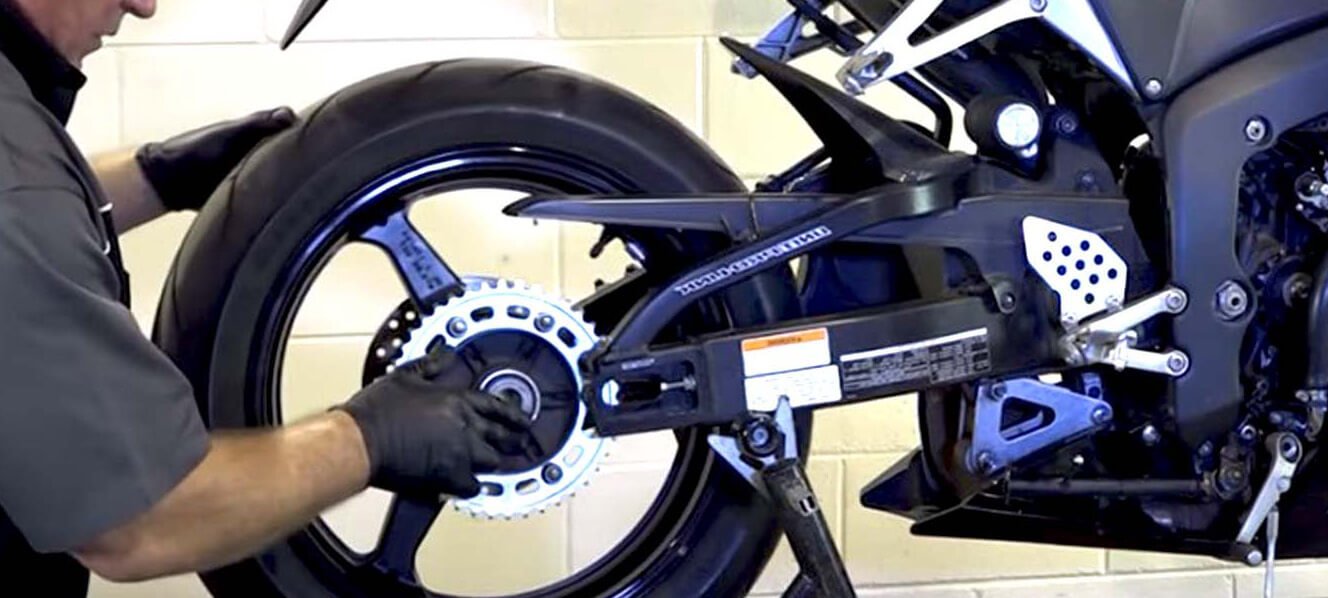
Step 4 Clean and Inspect the Sprockets
clean the motorcycle sprockets
Now that you've taken off the old chain, it's a good time to give the sprockets a proper cleaning and check-up. Dirt, gunk, and leftover lube can pile up making your new chain less effective.
- Use a degreaser and a stiff brush to remove debris from the sprockets. Clean both the front and rear sprockets.
- Check the sprocket teeth for wear. If you notice any hooked, uneven, or sharp teeth, replace the sprockets immediately.
- Wipe the sprockets clean with a rag to remove any remaining residue.
Tips: Putting a new chain on grimy or beat-up sprockets will cut its life short and lead to subpar performance.
Step 5 Install the New Chain
Now it’s time to put the new chain on your motorcycle. Follow these steps carefully:
- Unroll the New Chain: Lay the new chain flat and inspect it for twists or kinks. Make sure it matches your bike's specs (length, pitch, and type).
- Feed the Chain Onto the Sprockets: Start by placing one end of the chain over the front sprocket. turn the rear wheel to guide the chain onto the rear sprocket. Check that the chain fits in the sprocket grooves.
- Use the master link (if your chain has one) or a rivet tool to connect the two ends of the chain. If you're using a rivet link, follow the maker's instructions to press and fasten the rivets
Important: Ensure the master link or rivet is installed securely. A loose link can result in the chain coming apart while riding, leading to dangerous situations.
Step 6 Adjust the Chain Tension
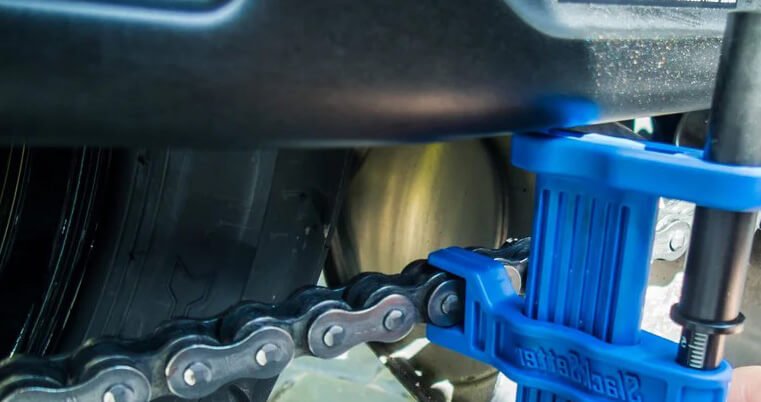
It is critical to adjust proper chain tension.
Proper chain tension is critical for the smooth operation of your motorcycle. A chain that’s too tight can strain the drivetrain and cause premature wear. A loose chain, on the other hand, can slip off the sprockets or damage them.
- Refer to your motorcycle’s owner’s manual for the recommended chain slack. Most motorcycles require slack between 20-30mm (about ¾ to 1¼ inches).
- Use the axle adjusters on the swingarm to tighten or loosen the chain. Turn the adjuster bolts evenly on both sides to maintain proper wheel alignment.
- Check the slack by pressing the chain midway between the front and rear sprockets. Adjust until the slack is within the recommended range.
- After adjusting, tighten the axle nut securely with a torque wrench to the manufacturer’s specifications.
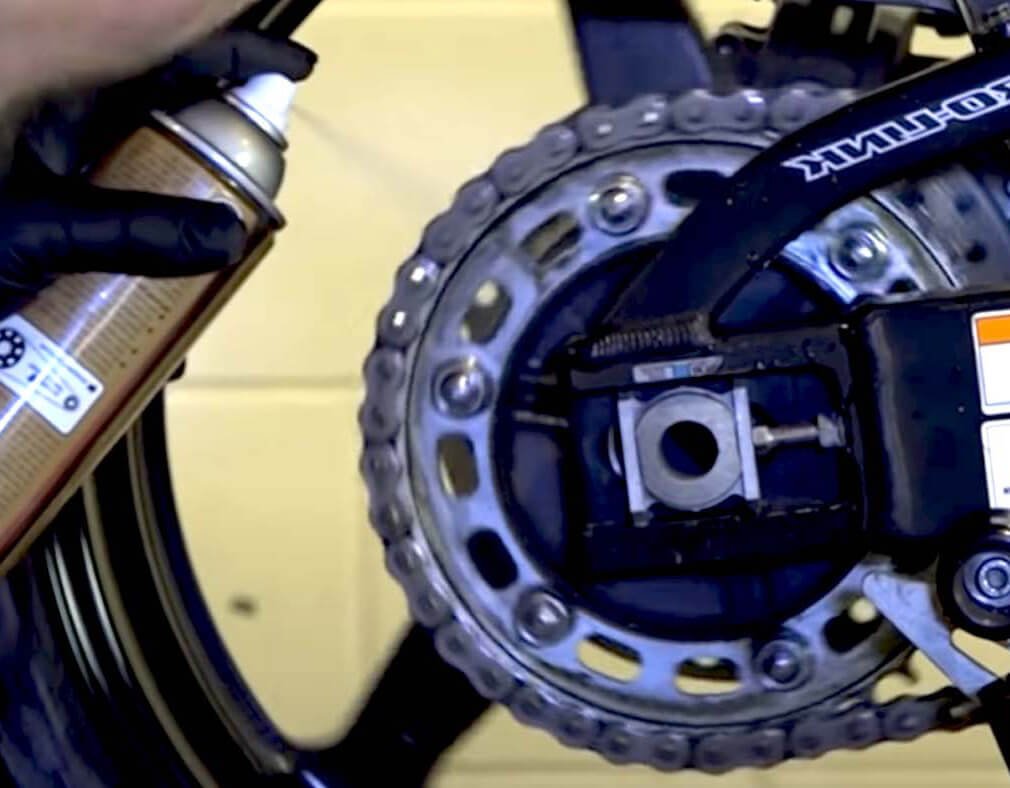
Step 7 Lubricate the New Chain
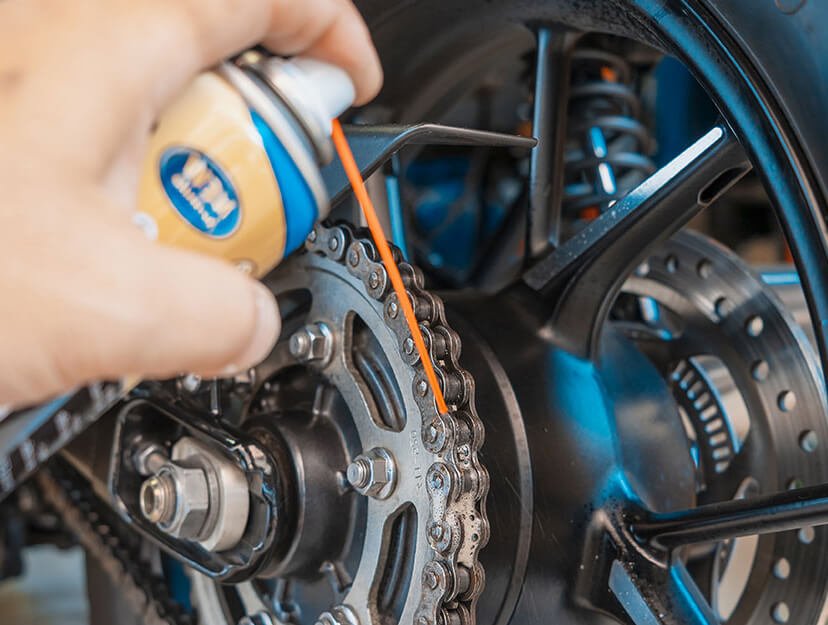
lubricate the motorcycle chain
A new chain needs the right amount of lube to work well and last longer. Pick a top-notch motorcycle chain lube for this job:
- Turn the back wheel to see the whole chain.
- Spray the lube on the inside of the chain as it moves over the sprockets. The inside is where the chain touches the sprockets and rollers.
- Use a clean cloth to wipe off extra lube. Too much lube can make dirt stick, which will make the chain wear out faster.
Lubricating the chain is not only essential during installation but should be part of your regular maintenance routine.
Step 8 Perform Final Checks and Test Ride
Before taking your motorcycle out for a ride, double-check your work to ensure everything is secure and functioning correctly:
Check Chain Tension: Reconfirm the chain slack to ensure it’s within the recommended range.
Inspect the Master Link or Rivet: Make sure the master link is properly secured or the rivets are pressed correctly.
Rotate the Rear Wheel: Spin the rear wheel by hand to ensure the chain moves smoothly and doesn’t bind or skip.
Test Brake Functionality: While the motorcycle is still on the stand, check the brakes to ensure nothing was disturbed during the process.
After completing these checks, take the motorcycle for a short test ride. Pay attention to how the chain feels and listen for any unusual noises. If everything feels smooth, the installation is complete.
Tips for Prolonging Chain Life
tips to prolong the motorcycle chain life
- Changing a chain isn’t something you want to do frequently, so here are some tips to make your new chain last longer:
- Clean and Lubricate Regularly: Clean your chain every 500-1,000 miles (or sooner if riding in wet or dirty conditions). Apply chain lubricant after cleaning.
- Check Tension Often: Inspect and adjust chain tension every few rides. Proper tension helps prevent unnecessary wear.
- Avoid Overloading: Carrying excessive weight or riding aggressively can strain the chain.
- Inspect for Damage: Regularly check for stiff links, rust, or wear to catch problems early.
Common Mistakes to Avoid
- Skipping Sprocket Replacement: Using old sprockets with a new chain will lead to faster wear.
- Incorrect Tension: Riding with a chain that’s too loose or too tight can damage the drivetrain.
- Neglecting Lubrication: A dry chain wears out quickly and can cause performance issues.
- Rushing the Process: Take your time to ensure every step is done correctly. Mistakes can be costly or dangerous.
Conclusion
Changing a motorcycle chain may seem daunting at first but with the right tools and attention to detail. By following the eight detailed steps above, you can replace your chain safely and effectively. It’s a rewarding task that can save you money and enhance your bike’s performance.
Don't forget to check your chain and sprockets often, clean the drivetrain, and keep everything well-oiled to make your new chain last longer. If you take good care of it, your motorcycle will run and stay safe for many miles to come. Always prioritize safety and take your time during the installation process. Happy riding!
More Touing Tips

With over 10 years of experience working on cars and trucks Item Training Supervisor Richard Reina is known around the office as one of our technical experts & real an "automobile person".
His rate of interest began, in his very own words, "at the age of two when his father educated him the distinction in between a Chevy and a Ford. Since then it's been cars regularly."
As a serious lover of practically all things with a motor Richard can address nearly any kind of inquiry related to car upkeep, fixing, or restoration & is a fact professional in electric motor background.
Subscribe
Login
0 Comments
You maybe like to read:
Picking the perfect brake pads for your ride has an influence on how safe you are, how well your whip handles, and what you’ll shell out over time. You’ve got a whole menu, from wallet-easy organic pads to fancy ceramic or semi-metallic types. To get why budget brake pads ain't the same as the pricier […]
E-bikes have transformed into more than just gadgets to help you get around. Now, they're speed demons that can go toe-to-toe with motorbikes. It’s 2025, and these speedy machines have gotten a huge boost from better motors, more powerful batteries, and sleek designs that cut through the air like a knife. Let’s dive into the […]
Many riders who aren't so tall or ladies just starting to ride bikes need to pick out the best Motorcycles for Short Riders and Women. They gotta look for three key things: a seat that's not too high up, a bike that's not too heavy, and something that looks good enough to give them confidence. […]
As we accelerate into 2025, motorbikes are getting a serious tech upgrade. They’re all about safer rides and more fun on the road. Even if you’re a pro or just starting, kitting out your two-wheeler with cool tech stuff is a game-changer. Check out these ten top motorcycle gadgets each motorcyclist will want in 2025. […]
Getting around the city every day can be super annoying. You've got traffic like molasses nowhere to park, fuel prices through the roof, and buses stuffed like sardine cans make heading to the office a real pain. For loads of folks, getting a motorcycle is a pretty slick move—they’re nimble, cost-effective, and perfect for squeezing […]