Fodsports FX 60C vs FX30C Pro: What's new techs are the FX 60C bringing to us? Fodsports is a brand worth-mention for helmet communication and video recording. This brand has established itself as a key player with its innovative Bluetooth camera intercom systems. Recently, Fodsports has released a new camera intercom, the FX 60C. How […]
How To Charge ATV Battery? 3 Easiest Steps To Charge ATV
Numerous riders do not know just how to charge their ATV battery correctly.
As a matter of fact, if you do not charge your ATV battery properly, you can do extremely significant damage to it.
If you also are puzzled, then this is your lucky day because I'm mosting likely to show you, detailed, exactly how to charge ATV battery properly.
Table of Contents
3 Steps To Charge Your ATV Battery
The ATV does have a built-in charging system powered by engine. But the current it provides is not very high.
You can charge the battery over long rides, but this is not always practical. Instead, you can use an external battery charger.
I will give you 3 steps on common ways to charge your ATV. By following the 3 steps below, it will not be difficult to charge your ATV.
Before all the work begins, you need to prepare some tools in advance so that you can better charge your ATV. With the right tools, the process is so simple that almost anyone can complete it.
Tool Requirements
- An appropriate battery charger (for the most part a low-amp smart charger).
- Latex gloves (in case of battery acid spill).
- Safety eyewear.
With all the tools ready, let's get started.
1. Park The ATV Someplace Dry And Also Well-Ventilated
The battery as well as the battery charger need to stay dry throughout the entire charging process.
Additionally, the battery should be someplace well-ventilated to air vent out any kind of gases from the charging process.
Overcharging and even just charging a battery causes a chemical process that launches explosive hydrogen gas. With proper venting, you lessen the risk of the gas obtaining stirred up by a spark, which may cause an explosion.
A garage or shed where you can leave the garage door open would be an excellent place.
If you do not have a completely dry as well as a well-ventilated location that will fit your whole ATV, consider removing the battery from the bike to charge it.
The ATV and all accessories must be switched off when charging to stop sparks.
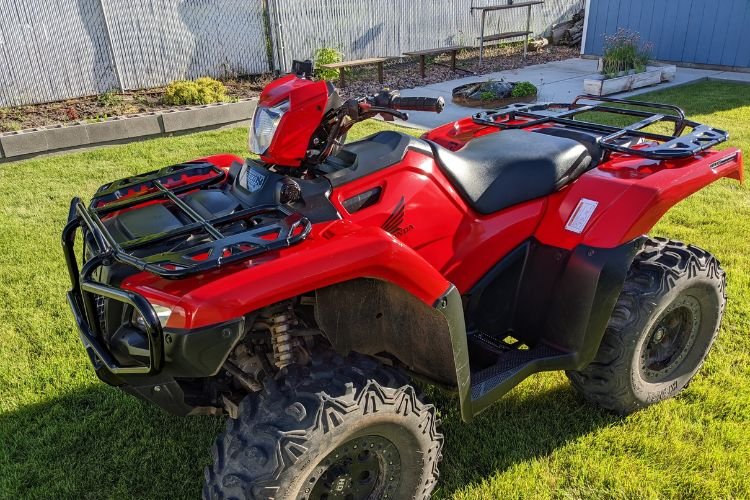
2. Locate And Identify The Battery
After you put your ATV near an outlet, you will certainly need to open up the seat of your ATV to ensure that you have access to the battery.
To eliminate the seat of the ATV, you will require to make use of a screwdriver to remove the screws that protect the seat, and then you require to start loosening all the screws that safeguard the ATV battery.
It is very important to make sure that the screwdriver you are making use of is suitable for the screws that hold the seat to ensure that it does not damage the screws, which can end up being very hard to eliminate as soon as damaged.
As soon as you have ended up removing your ATV seat and also have accessibility to your battery, you will require to get rid of the battery covers.
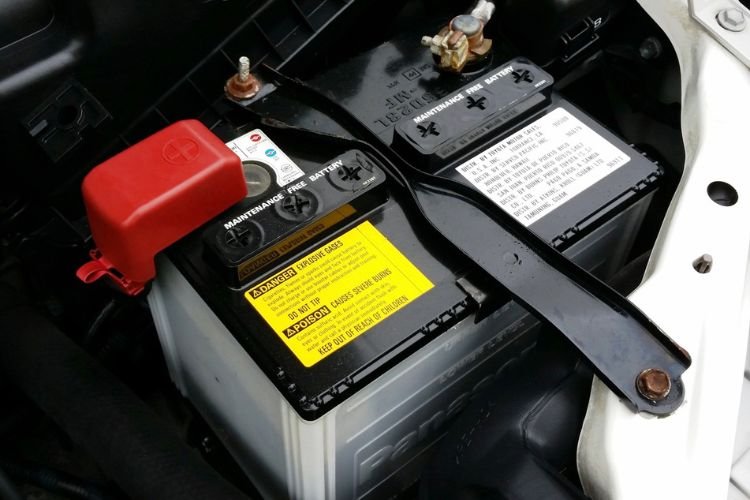
After removing the battery cover, then you must identify which battery is in your ATV. It should be classified clearly on the side.
If you can't check out the tag or there isn't one, here's just how to tell which battery you have.
If it has fluid inside, as well as has removable caps ahead, that's a flooded lead-acid battery. It'll additionally have partially clear housing, allowing you to keep track of the degree of the fluid inside.
If it has liquid inside, yet has a level top without any caps, that's a sealed lead-acid battery. It can likewise be a VRLA battery.
If the battery looks like a lead-acid battery, however, has a level top and you can't hear any fluid inside, that's a GEL-cell battery or an AGM battery.
If the battery is small and extremely light, that's a lithium-ion battery.
All ATV batteries, despite the type, require a 12V charger that provides a low current of between 1 and 3 amps.
Flooded lead-acid, sealed lead acid, VRLA as well as AGM batteries can be charged with a manual battery charger. Nevertheless, you need to monitor the battery charge utilizing a voltmeter to ensure you do not overcharge it.
This is specifically important for covered lead-acid and VRLA batteries, as there's no way to top them up after overcharging, and also they might obtain permanently damaged.
For Gel batteries, you need a battery charger, especially for this type of battery. The same goes with lithium-ion; try to find a lithium ion-compatible charger.
If you intend to avoid all these problems, we recommend getting an automatic battery charger. Unlike a hands-on charger that requires to be shut off or the current setup altered when the battery gets to a certain degree, you can attach an automatic charger as well as leave.
It instantly identifies the battery voltage and delivers the right voltage and present. It'll automatically quit charging, or go into trickle mode when the battery is full. So you never ever need to worry about damaging your ATV battery.
3. Charge The Battery
A. Charging An ATV Battery With A Manual Charger
You can charge the ATV battery while it's still in the vehicle, or you can take it out. Just make sure you charge it in a well-ventilated area. The charging process creates flammable gasses.
If you are making use of a manual charger, check the voltage of the battery using a voltmeter. This will inform you just how low the battery is, as well as how much time it'll take to charge it.
Next off, attach the red lead of the battery charger to the positive terminal of the batter, and also the negative lead to the negative terminal or a piece of steel around the engine location.
Set the manual charger to the ideal charging current. To be secure, choose an existing that's no more than a tenth of the battery's Ah. For a 30Ah battery, set the present on the battery charger to no more than 3A.
Plug in the charger as well as start the charging process. Maintain checking the battery charge level. When it reaches 80%, reject current to half what it is. This enables the battery to fully charge.
When it's fully charged, switch off the charger quickly. If you'll be leaving the battery sitting for a very long time, you can switch on maintenance mode, if the charger has one or acquire a battery tender to keep it charged.

B. Charging An ATV Battery With An Automatic Charger
An automated charger is much easier to use. You do not require to check battery voltage or keep an eye on the battery.
All you require to do is choose the kind of battery and also voltage. Many automatic/intelligent chargers come with specialized charging modes for AGM, lithium-ion, Gel, as well as various other types of batteries.
Attach the battery charger to the battery and also leave it to charge. It'll safely charge the battery as well as maintain it completed without overcharging it.
Tips To Remember
- Always charge batteries in a well-ventilated area as well as use correct eye defense
- See to it the charger is shut off and/or unplugged prior to linking the bring about your battery to prevent sparks
- Never ever attempt to charge a visibly damaged or frozen battery
- Make certain the battery charger leads are firmly affixed to battery terminals
- Maintain all stimulate, flames, and also cigarettes far from the charging area
Frequently Asked Questions
Why Do You Need To Charge An ATV Battery More Often?
The charging system on an ATV is not as efficient as the one you will find on an automobile, so it will need more time to charge the battery properly.
Unless you do hour-long rides every single time you launch your bike, it will likely draw even more power to start the bike than it will be able to charge while you are running it.
In addition, ATV batteries are reasonably small in both sizes and also able to maintain the total weight of the bike down.
Incorporate that with a couple of power-hungry accessories like your ATV winch, and also you will certainly quickly discover your battery is too low on power to start your bike. Leaving the battery on a low charge in time will additionally create damage to the battery.
That's why it's a good technique to charge it every now and then to conserve you from problems later on.
How Frequently Should You Charge An ATV Battery?
ATV batteries should be charged whenever the battery voltage drops listed below 12.4-- 12.6 volts. Top off the battery each fall and each spring, and use a battery tender to keep the battery healthy when the ATV is sitting for extended periods without being made use of it.
Can I Charge My ATV Battery With An Car Battery charger?
Car battery chargers commonly output 10 amps of existing, which is too much for an ATV battery. It can overheat and also permanently harm the battery.
Unless the battery charger has a setting to restrict current to less than 3 amps, do not use a car and truck charger.
If you can minimize present to under 3 amps, make use of the very same treatment as a manual charger.
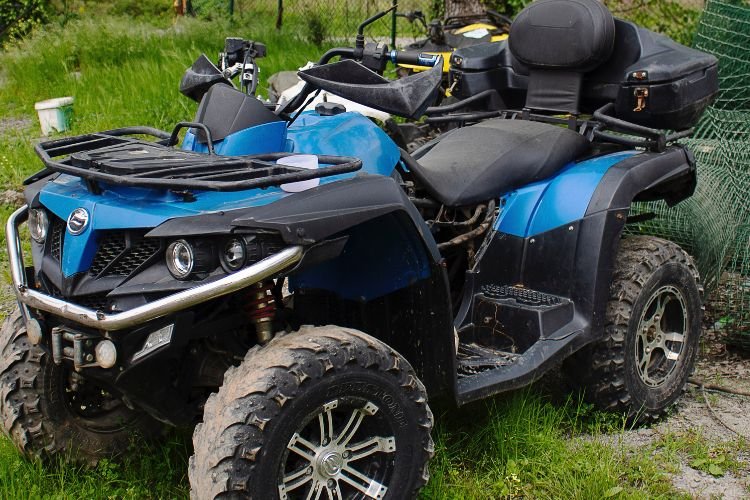
Can I Charge My ATV Battery With My Car?
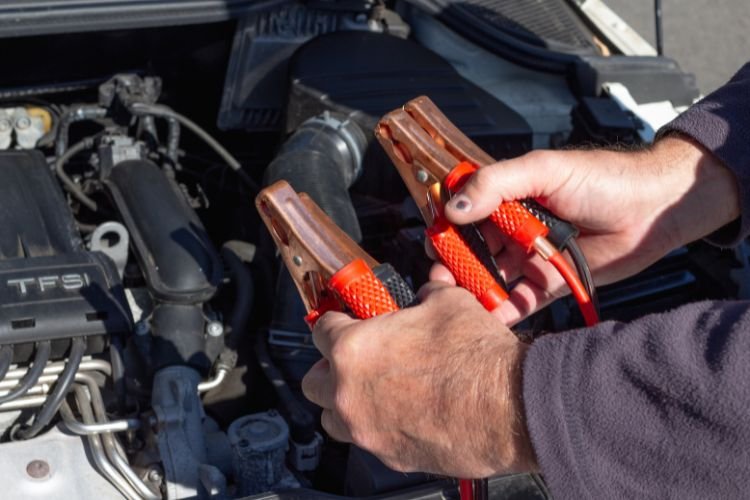
Yes, you can charge your ATV battery with your car, yet only to jumpstart it. This is useful if your ATV won't start due to the fact that the battery is dead.
Use a jumper cable to link the automobile battery to the ATV battery. Do not start the cars and trucks. That could supply way too much power and also damages the little ATV battery.
The vehicle battery has enough charge to revitalize a dead ATV battery. Separate the jumper cable after a few minutes and attempt to begin the ATV once again.
To stress, this technique is just for jumpstarting. Do not use it to charge the ATV battery to ability considering that you can not manage just how much current and voltage it's receiving.
Can You Overcharge An ATV Battery?
Yes, you can overcharge an ATV battery. This takes place if you use a battery charger that delivers way too much current or voltage. Leaving a manual charger plugged in even after the battery is complete can likewise overcharge it.
Overcharging can damage a battery, usually completely. This is specifically so for sealed batteries, where you can't open caps and restore the electrolyte.
Recommend read:
How Long to Charge a Motorcycle Battery(The Unique Guide 2022)
What Does Stator Do On ATV? Most Comprehensive Overview 2022
Unleashing the Thrill: A Comprehensive Guide to ATV Camping Adventures
ATV Maintenance Checklist | Extend Your ATV Lifespan

Rodney L is a technical writer and product consultant with over a decade of experience in the motor industry. Rodney is a fan of performance machines that run fast and loud and an expert in all things custom. His numerous articles and write-ups are available at our knowledge base. Whether it’s something wrong with your motorcycle or you are building a custom bike, you can trust Rodney’s experience.
The Fodsports FX 60C is leading a revolution in the Bluetooth camera intercoms market. This 2025 newest intercom with camera by Fodsports is designed to enhance your riding experience. This device comes with advanced features like Bluetooth 5.4, 4K HD recording, 10-way intercom, and plenty more. So it is clear that this device seamlessly blends […]
For motorcycle riding safety, effective stopping rocks because it has an influence on how fast you stop how stable you are, and how much control you get. Figuring out when and how to use the front and back brakes can really bump up your riding game and keep you safe. This guide is gonna show […]
As the electric vehicle Revolution accelerates the world of motorcycles, is no exception To be a landmark year for electric motorcycles with Cutting Edge. Technology, performance, and design advancements reshape the market. Electric motorcycles. Now, offers impressive, power, extended range, and Sleek designs. Whatever you need, the options in 2025 are more diverse and exciting […]
Motorcycle enthusiasts are a dedicated group. They enjoy the sense of liberation on the open highway, the excitement of riding, and the opportunity to display their beloved two-wheeled machines. But in today’s world, there’s a new debate revving up in the motorcycle community: gas vs. electric motorcycles. If you're an experienced rider or a beginner […]
Shopping for a motorcycle enthusiast can be tricky, especially if you’re not familiar with the gear and gadgets that make riding more enjoyable. Whether it’s the thrill of the ride, the joy of the open road, or the love for motorcycles themselves, finding the perfect Christmas gift can feel overwhelming. Here is a guide of […]

